Automated OpenStack orchestration with openQRM

This HowTo is about how to fully automate OpenStack Cloud orchestration with openQRM.
Why do we integrate with e.g. Amazon EC2, Eucalyptus and OpenStack (and some more in the pipeline) ?
Pure Cloud projects do normally only care about virtual machine deployment.
That means the "Cloud“ is actually something „within“ your datacenter so it needs management and administration in the same way as „regular“ IT.
Since openQRM works on a much lower level of your
IT we "see" those "other" Cloud providers as "tools". Because of that
those „tools“ needs a comprehensive management platform to automate them
to 100%. Therefore in openQRM public and private Cloud provider are
becoming „just another resource type“ and we are happy to integrate with
them.
Requirements
- Two physical Server - at least 1 GB of Memory
- at least 100 GB of Diskspace
- VT (Virtualization Technology) enabled in the Systems BIOS so that the openQRM Server and the OpenStack system can run Virtual Machines later
Please notice!
The OpenStack integration in openQRM is only available in the openQRM Enterprise Edition >= 5.1.3! If you would like to test this feature please contact us for an openQRM Enterprise evaluation edition.
Install a e.g. minimal Debian on a physical Server.
Install and initialize openQRM
Please notice!
A detailed Howto about the above initial starting point is available at 'Install openQRM on Debian'
For the fully automatic OS and OpenStack Installation of the second system to be integrated into openQRM we assume you have followed the 'Fully automatic OpenStack installation on bare-metal with openQRM'.
For this howto we assume you have have used the same openQRM server (updated to version 5.1.3) as for the howtos about 'Virtualization with KVM and openQRM on Debian' and 'Automated Amazon EC2 Cloud deployments with openQRM on Debian'. That means with this howto we are going to add functionality to an existing openQRM setup. This is to show that openQRM manages all different virtualization and deployment types seamlessly.
Here the starting point for this openQRM/OpenStack howto. A ready-to-use openQRM Enterprise server.

Enable plugins
For this HowTo please enable and start the following plugins in the sequence below:
- dns plugin - type Networking
- dhcpd plugin - type Networking
- tftpd plugin - type Networking
- device-manager plugin - type Management
- nfs-storage - type Storage
- lvm-storage - type Storage
- nagios3 - type Monitoring
- puppet - type Deployment
- sshterm plugin - type Management
- local-server plugin - type Misc
- hybrid-cloud - type Deployment
Hint: You can use the filter in the plugin list to find plugins by their type easily!
Now please check the "local-server" plugins usage page how to easily integrate the second system (the OpenStack one) into openQRM.
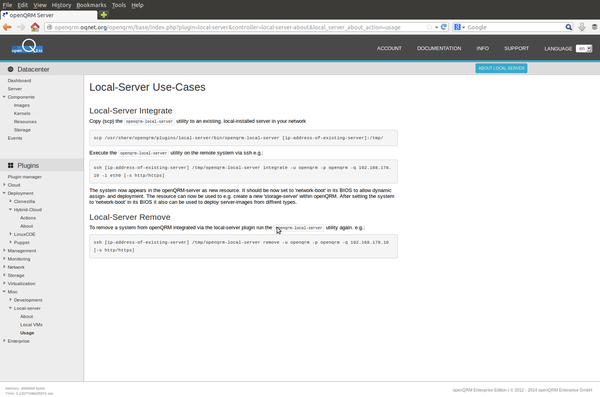
Here the commands used to integrate the OpenStack system into openQRM. First copy the "openqrm-local-server" integration utility to the OpenStack controller via "scp". Then login into the OpenStack controller and run the "openqrm-local-server" integration utility with the "integrate" action.

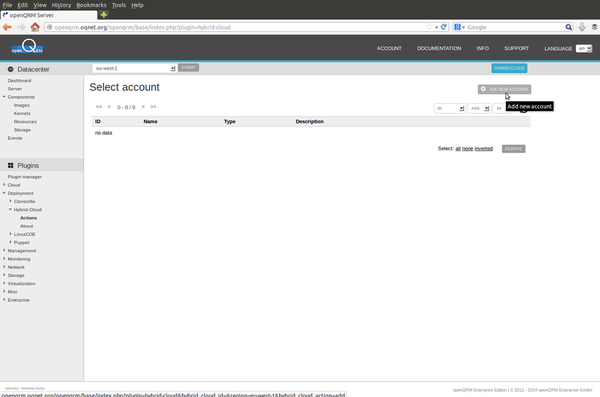
Configure an OpenStack account
Now go to
Plugins -> Deployment -> Hybrid Cloud -> Actions
and click on the "Add a new account" button.
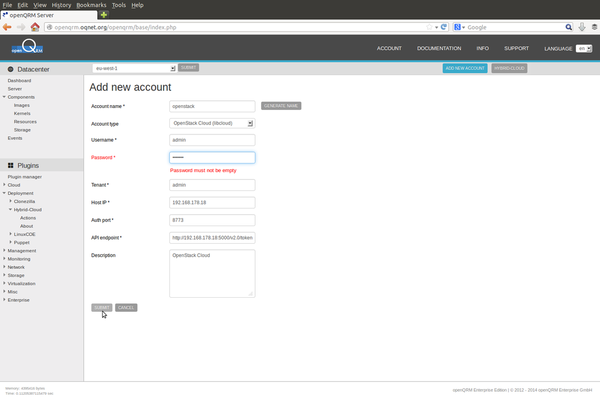
Set the following parameter in the "add account" form:
- Account name: a name for this account entry
- Account type: select "OpenStack Cloud (libcloud)"
- Username: your OpenStack username
- Password: the password for the above username
- Tenant: the tenant you would like to use
- Auth port: the port number for the OpenStack API authentication service (normally: 8773)
- API Endpoint: the Url for the OpenStack API Endpoint (e.g. http://[openstack-controller-ip-address]:5000/v2.0/tokens/)
- (optional) Description
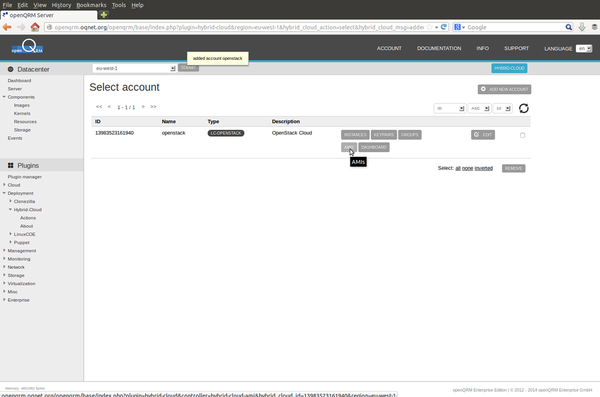
Clicking on submit checks the account parameters and creates the new openQRM hybrid-cloud account.
Add an OpenStack image to openQRM
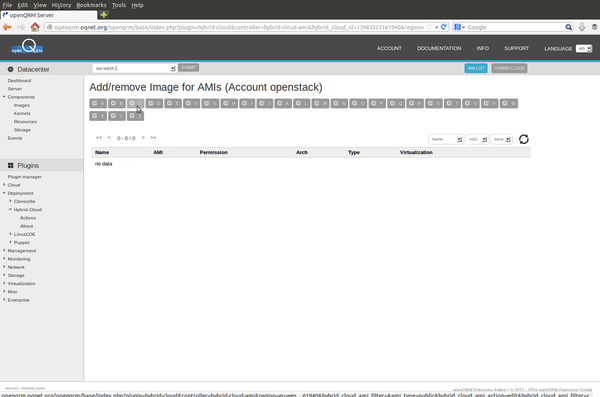
After setting up the connection to the OpenStack controller via the hybrid-cloud account click on the "AMI" action to add a new image object to openQRM.
In the AMI list please click on the "C" character on the upper filter.
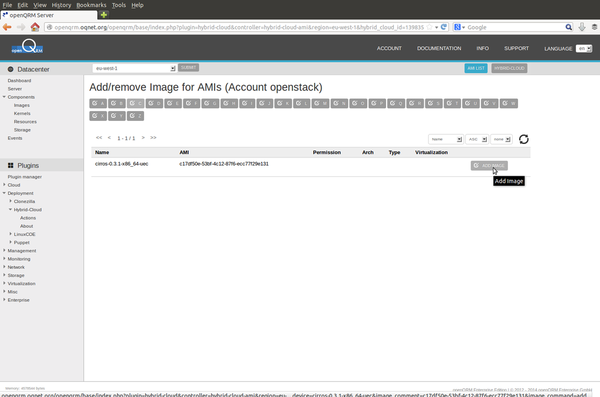
Here the filtered AMI list with the default "cirros" image in the OpenStack controller. Please click on the "Add Image" to add this OpenStack image to openQRM's image repository.
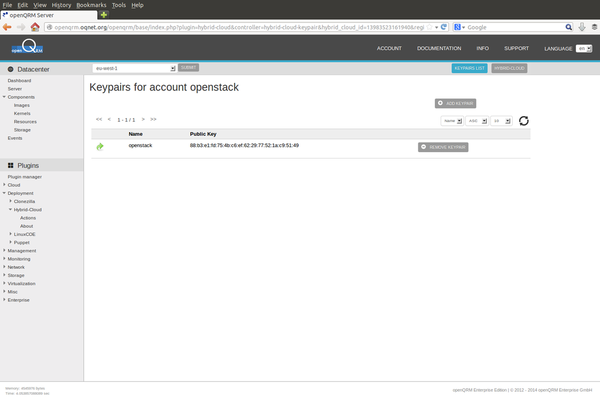
Create and manage the OpenStack keyparis with the "keypair" action in the hybrid-cloud account.
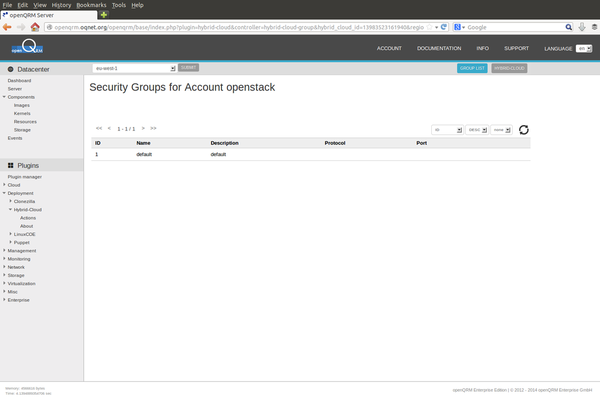
Here the list of the OpenStack security groups available through the "groups" action in the hybrid-cloud account.
Creating a new instance on the OpenStack Cloud
Creating a new instance in the OpenStack Cloud now is "as easy as a pie"!
We are now following openQRM's generic server wizard to create a new instance on the OpenStack Cloud. The instance is then fully controlled by the server life-cycle management of openQRM which provides the following added-values:
- automated highavailability
- automated system and service monitoring
- automated configuration management
- automated application deployment
- automated documentation
- automated Cloud billing
- etc.
Please go to
Datacenter -> Components -> Server
and click on "Add a new server"
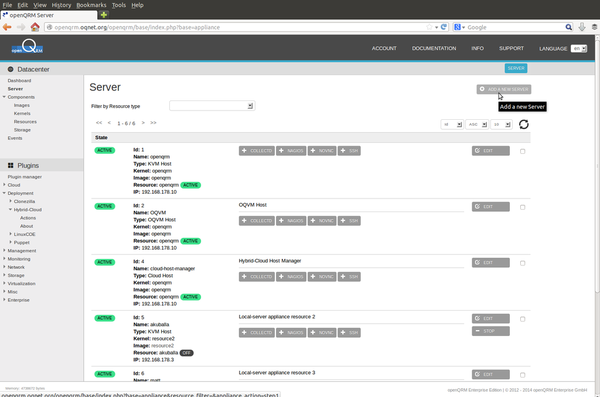
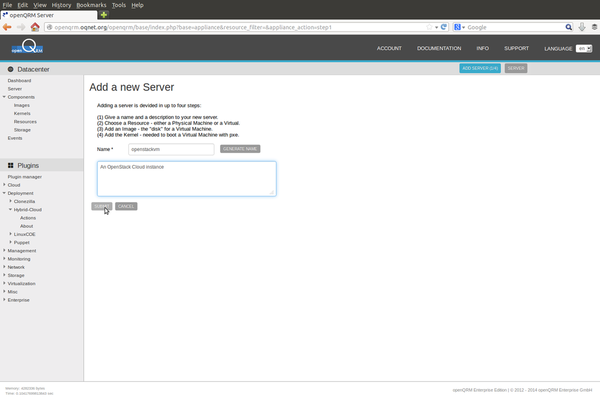
Provide name for the new server, optional a description.
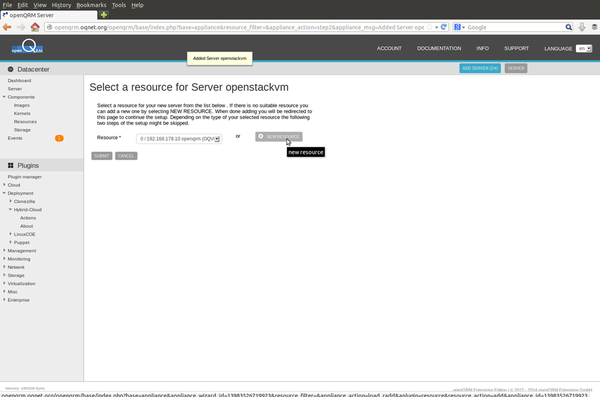
In the second step of the wizard click on "New resource".
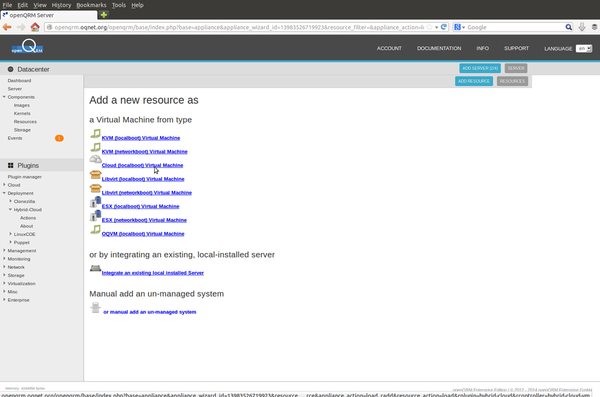
Now please select "Cloud (localboot) Virtual Machine" as the instance type.
The last action now forwards the the hybrid-cloud account overview. Please click on the "Instances" button.
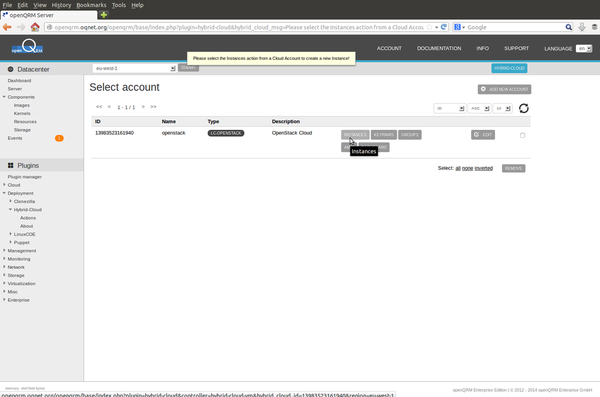
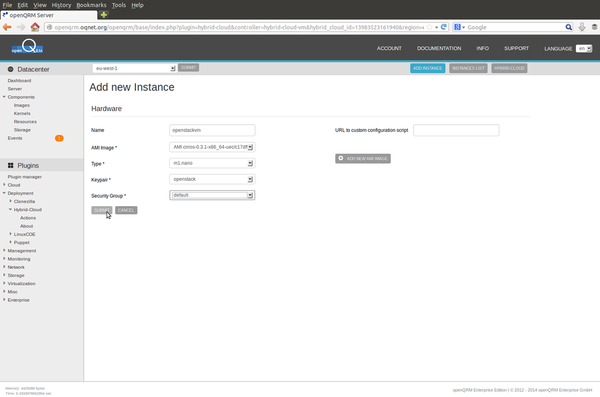
In the instance overview please click on "add instance".

In the instance-create for please provide an instance name, select the cirros AMI image and configure the security group and keypair. Additionally you can set a URL to a custom script to pre-configure the instance.
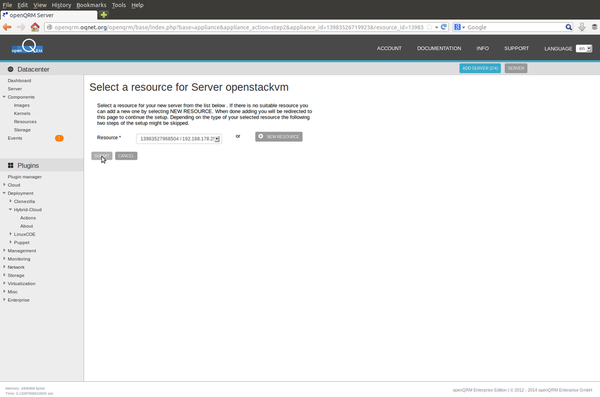
Creating the new OpenStack instance automatically returns back into the wizard with the new created resource selected. Please click on submit.
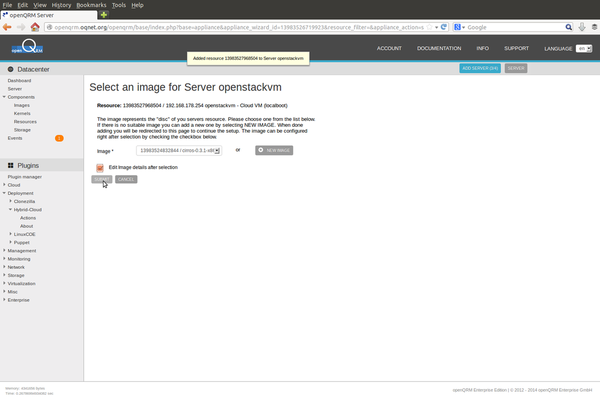
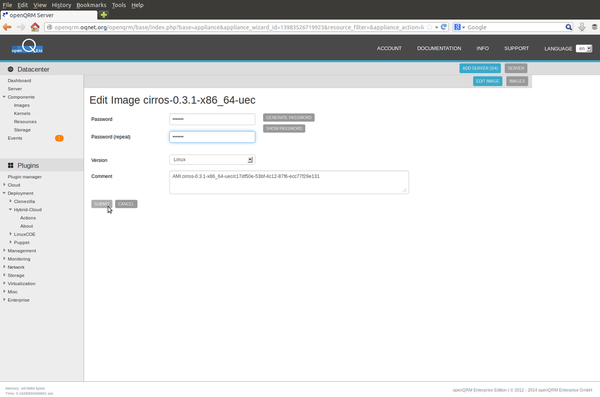
In the following step please select the "cirros" AMI image and enable the "edit image" checkbox.
In the Image-configuration step of the "add-server" wizard the login password to the instance can be set. Setting the password automatically pre-configures the "ssh" service on the instance to additionally work with login password instead of permitting only logins based on security keys.
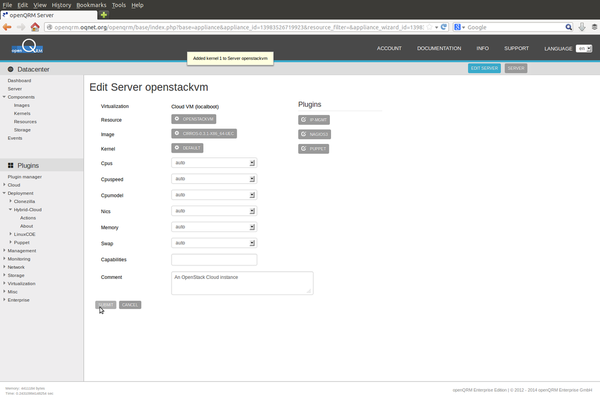
Here the final overview of the just created server in openQRM. Dependent on which plugins are enabled in your setup you can now pre-configure additional service and configuration items of this server.
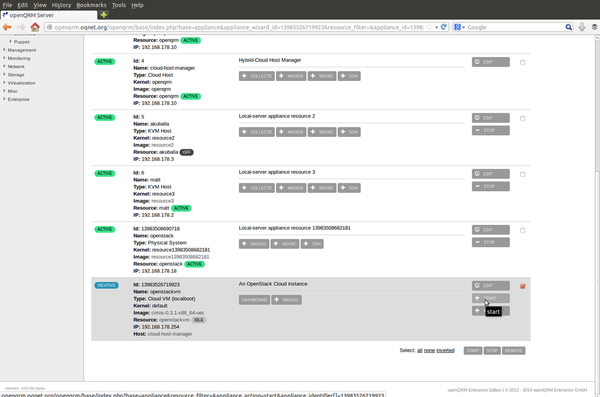
Here the just created new server listed in the server overview. Please click on its "start" button.
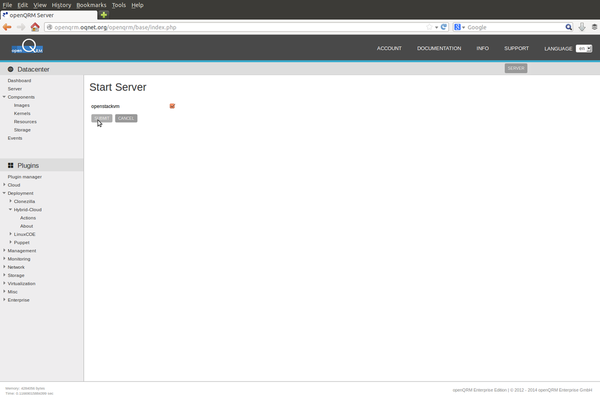
... and confirm the "start" action.
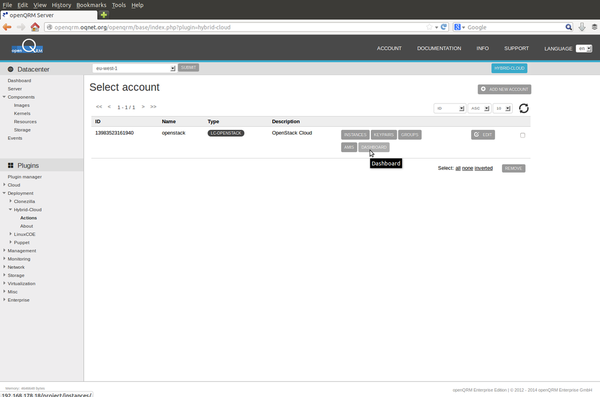
Now go to
Plugins -> Deployment -> Hybrid Cloud -> Actions
and click on the "Dashboard" button of the OpenStack hybrid-cloud account.
Here the new created instance in the OpenStack dashboard.
Congratulations!
You have made it through this openQRM/OpenStack howto. You can now fully automate your OpenStack deployments with openQRM.
Another openQRM documentation sponsored by openQRM Enterprise
We hope you enjoyed it!
Your openQRM Enterprise Team
Links
- openQRM Community: http://www.openqrm.com/
- openQRM Project at sourceforge: http://sourceforge.net/projects/openqrm/
- openQRM Enterprise: http://www.openqrm-enterprise.com/
- openQRM at Twitter: https://twitter.com/openQRM
- openQRM at Facebook: https://www.facebook.com/pages/openQRM-Enterprise/324904179687
- Devstack - http://devstack.org/
- OpenStack project: http://www.openstack.org/