Your private Cloud on Amazon EC2 - part 2
This HowTo describes the minimal configuration requirements
for the openQRM Enterprise Amazon Edtion
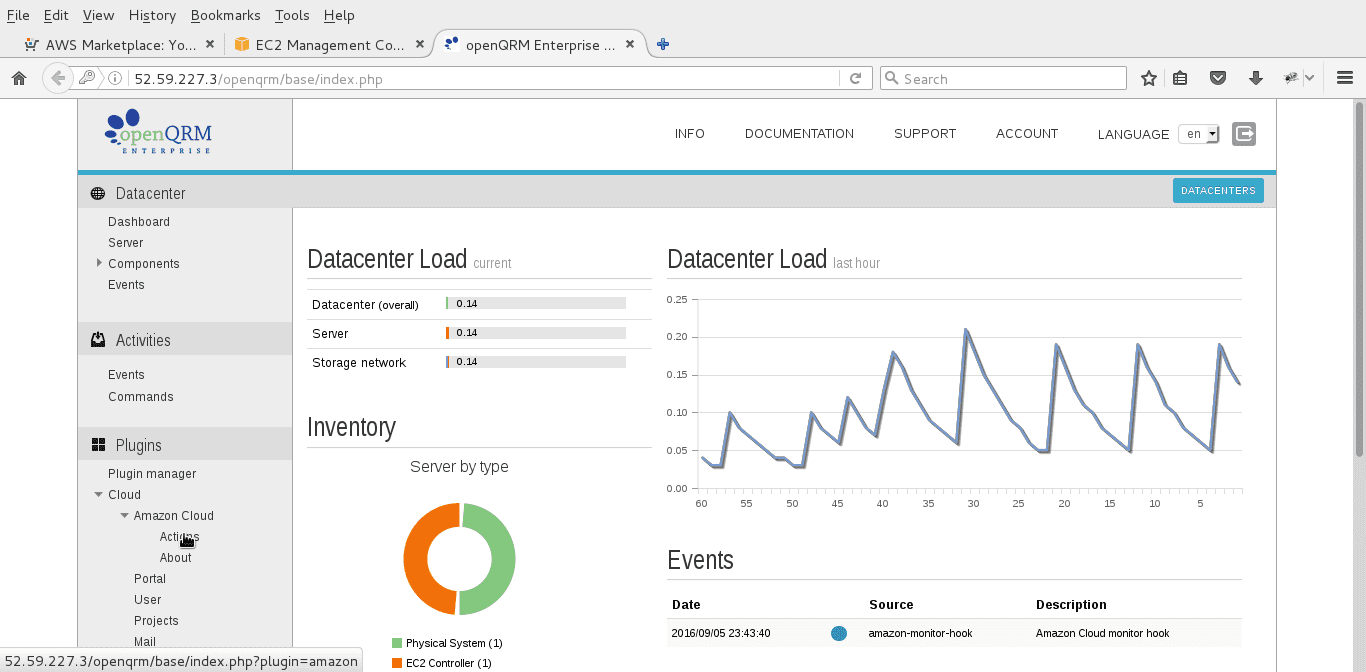
Login to your openQRM Enterprise Server
In the plugin menu click on 'Cloud -> Amazon Cloud -> Actions" and add a new account
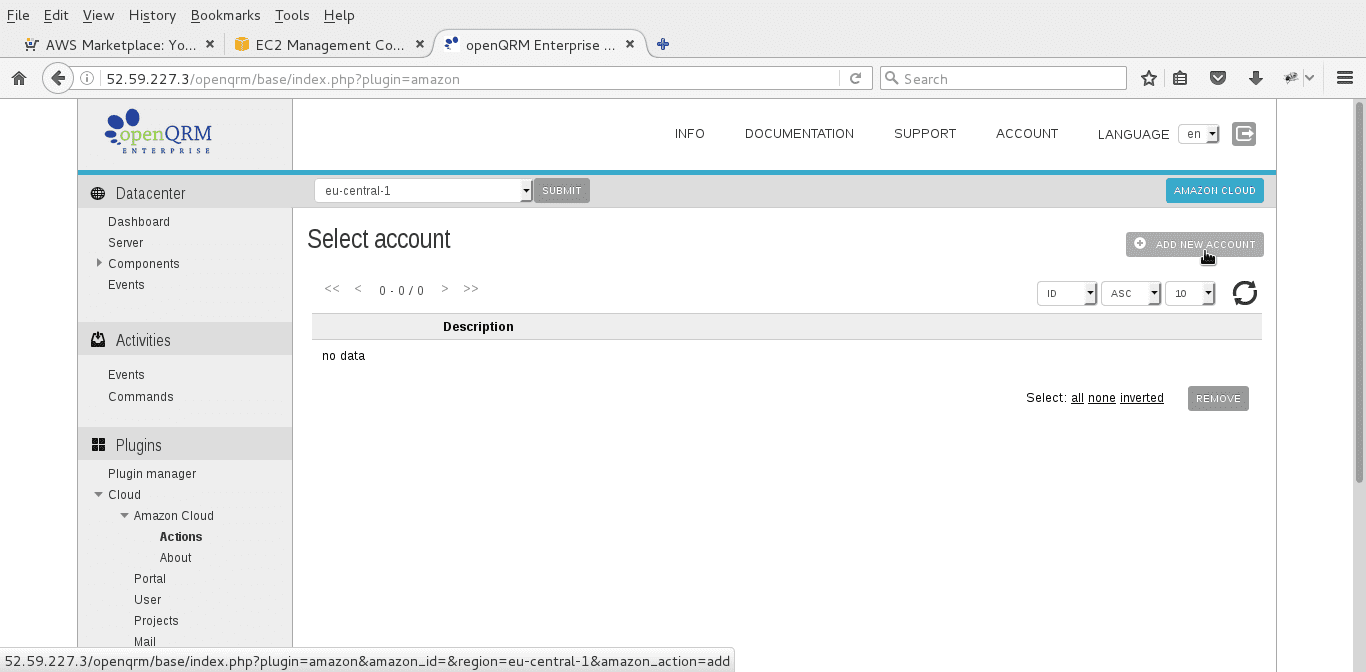
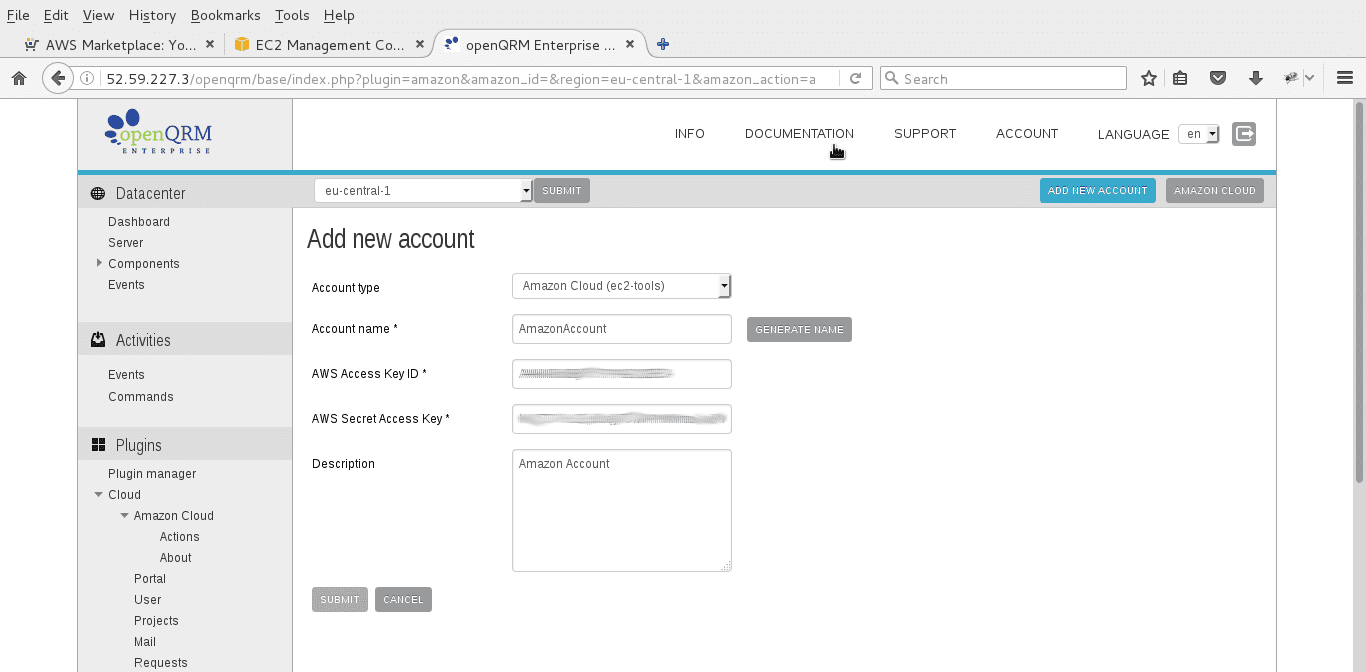
Add an account name and your Amazon access key and secret access key. You get both keys from the account section in Amazon EC2.
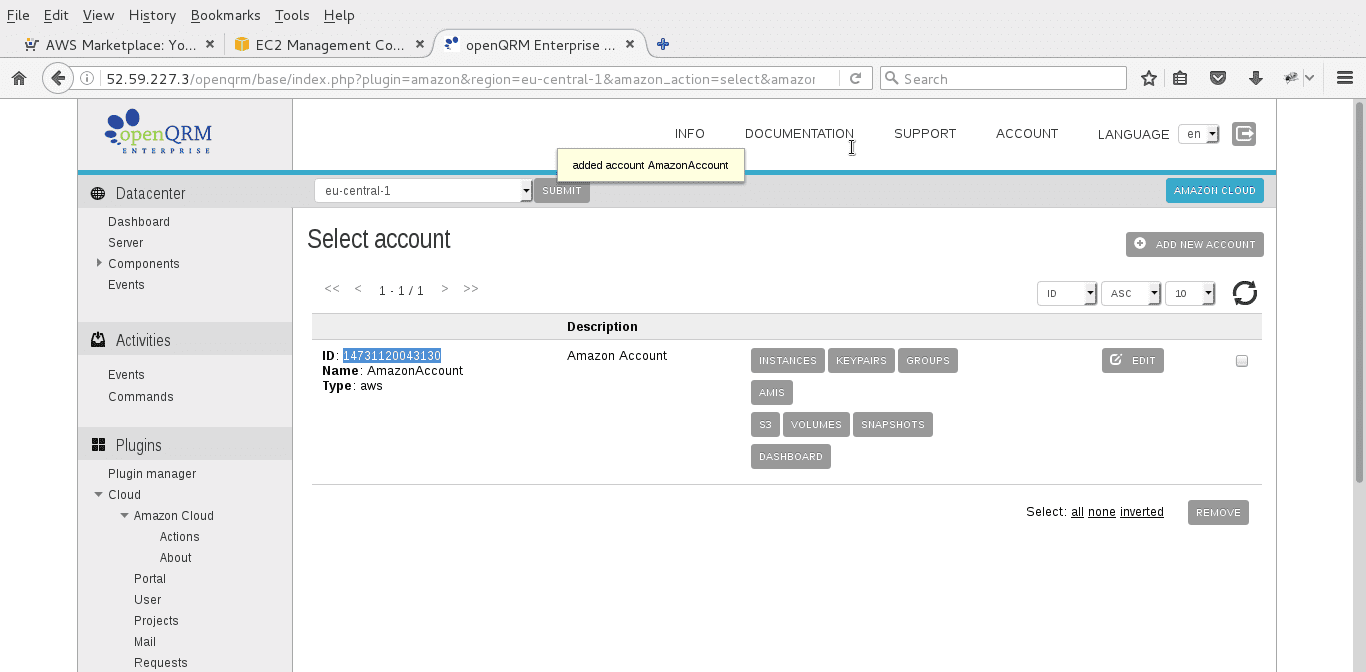
Copy the new created account ID.
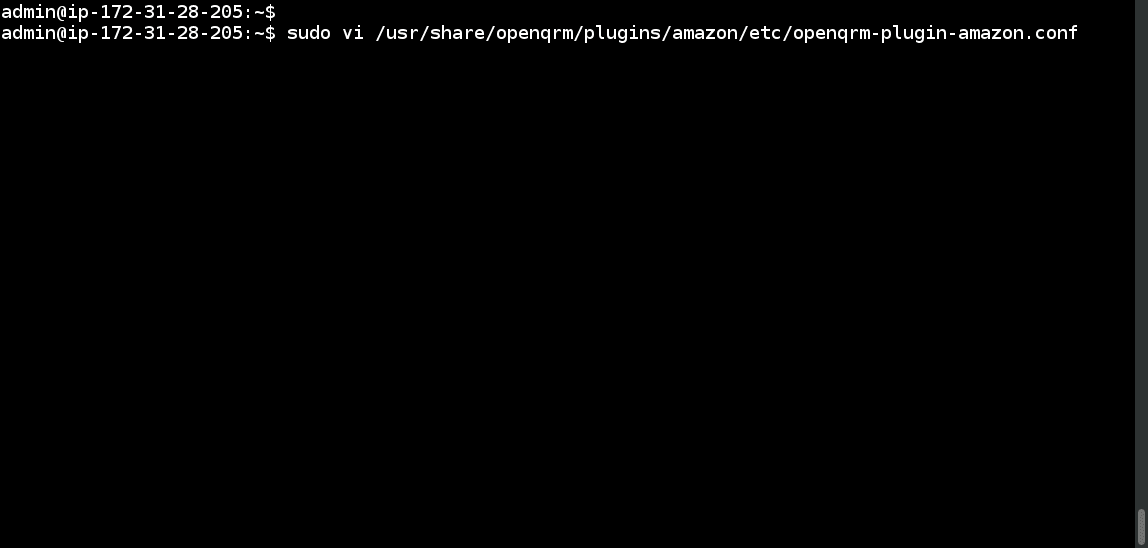
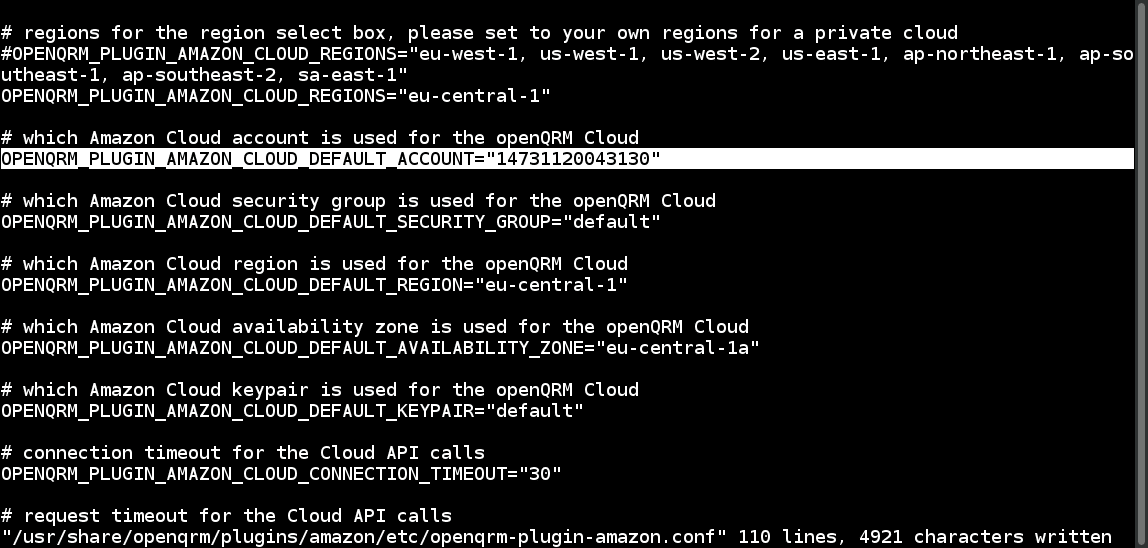
Now edit /usr/share/opernqrm/plugins/amazon/etc/openqrm-plugin-amazon.conf
Edit the parameter OPENQRM_PLUING_AMAZON_CLOUD_DEFAULT_ACCOUNT and insert the account ID from created account.
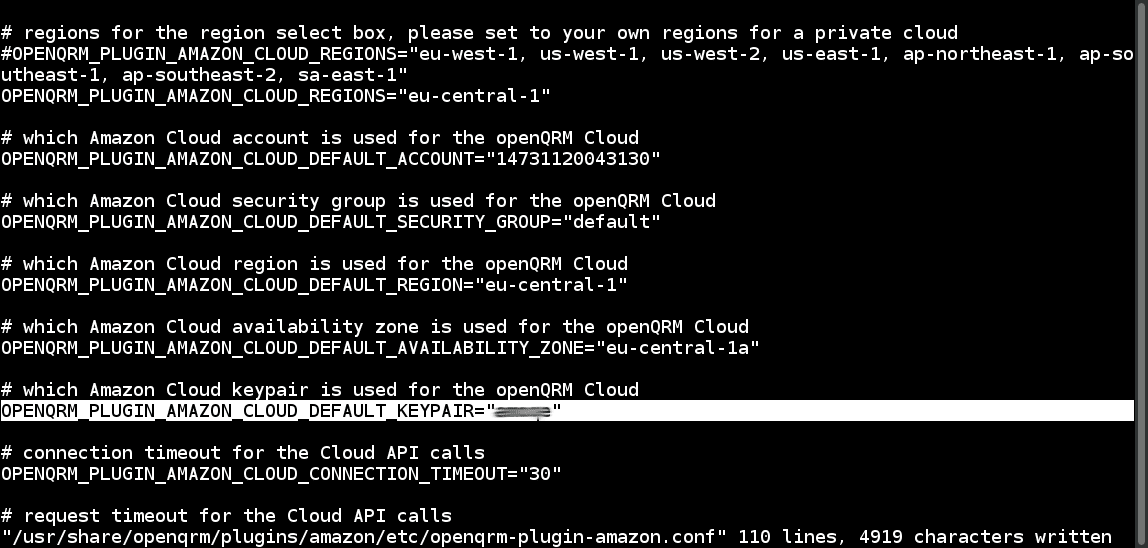
Also configure OPENQRM_PLUGIN_AMAZON_CLOUD_DEFAULT_KEYPAIR parameter with your personal key-pair from your Amazon EC2 account.
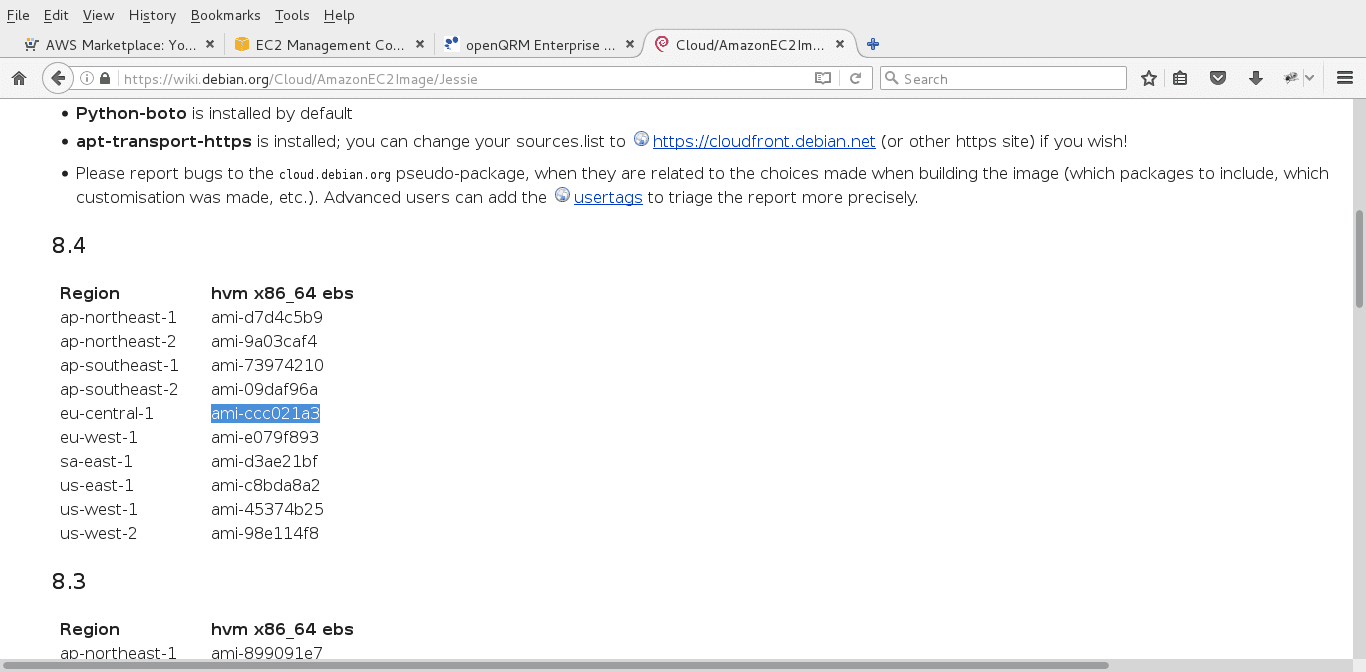
Point your browser to https://wiki.debian.org/Cloud/AmazonEC2Image/Jessie and find an AMI for the region you want to deploy it in.
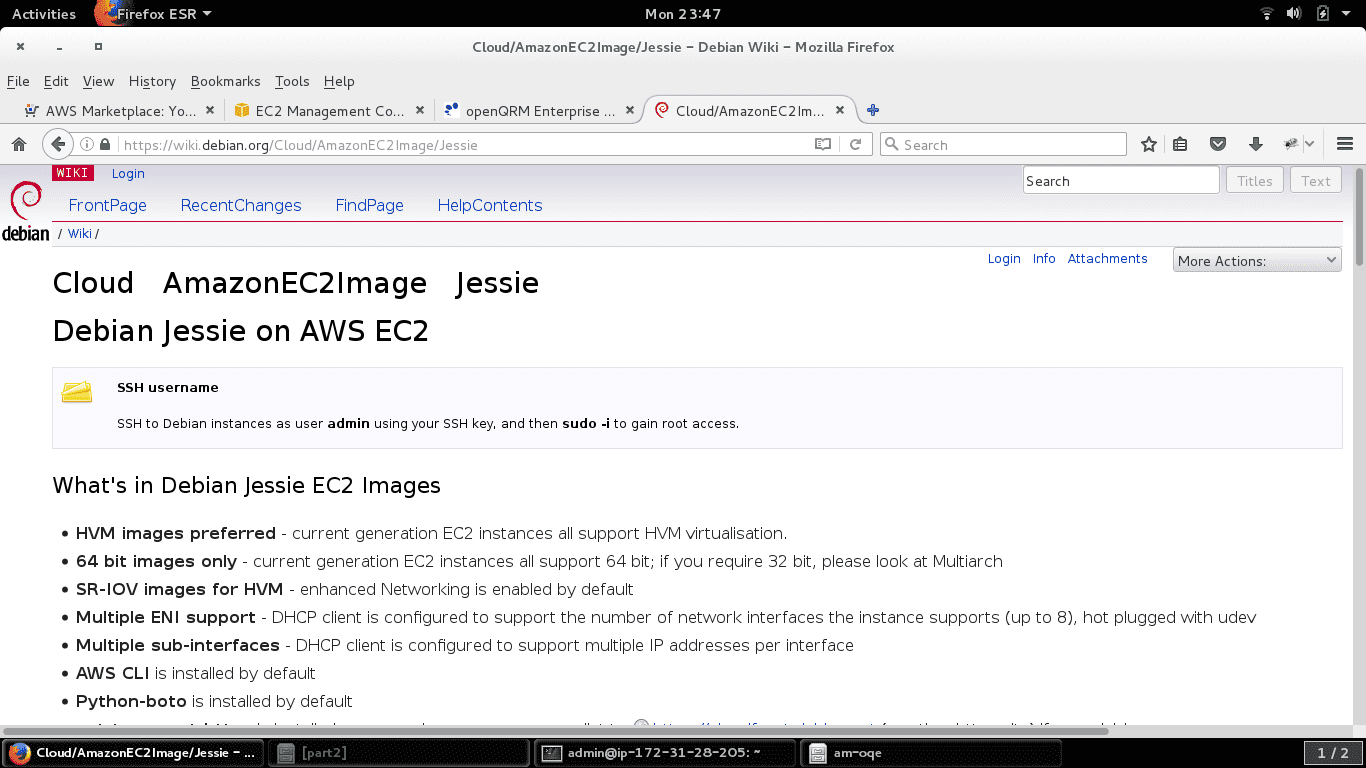
Here we use the official Debian Jessie AMI in the "eu-central1" region. Please notice that the "eu-central1" region is the configured as default in your openQRM Enterprise Amazon Edition!
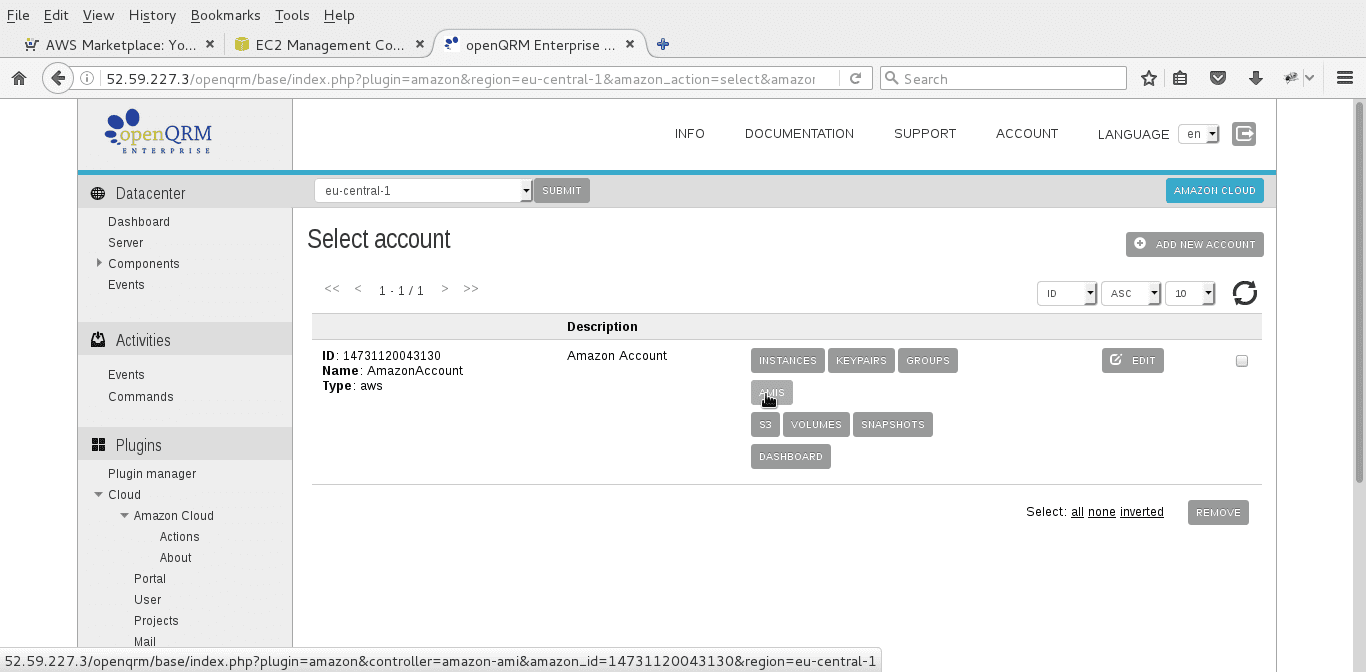
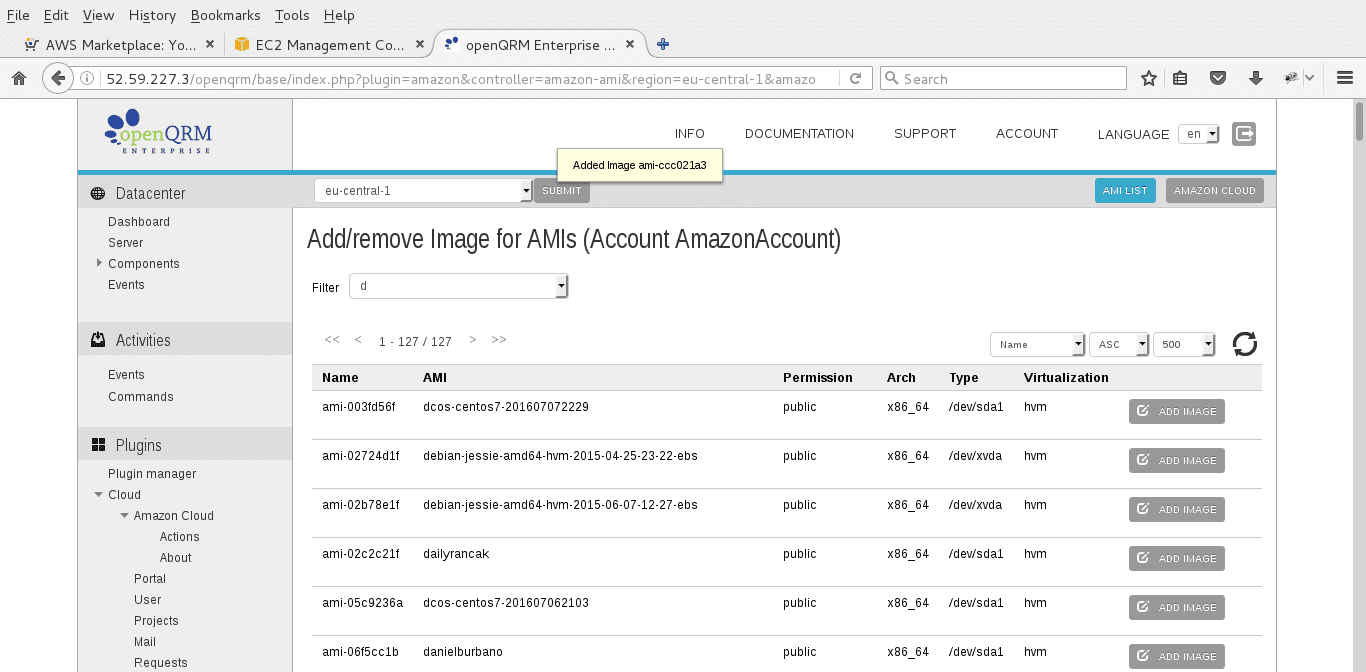
Go to "Cloud -> Amazon Cloud -> Actions -> AMIs"
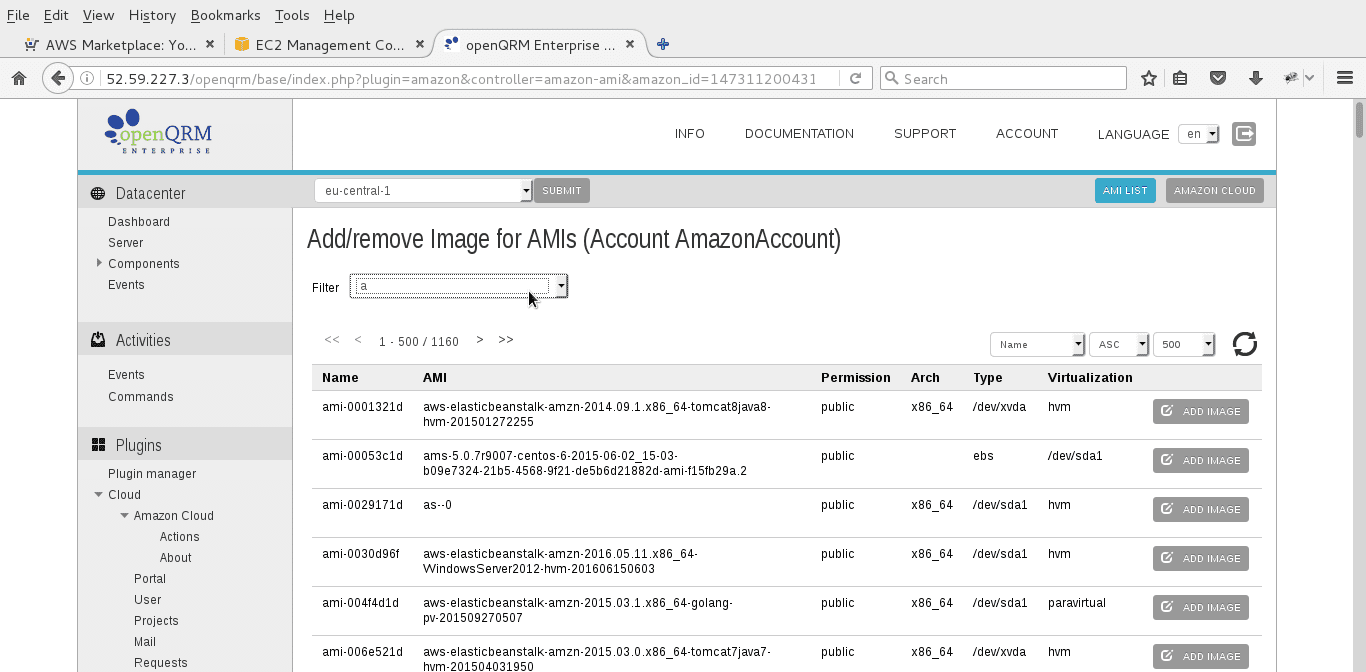
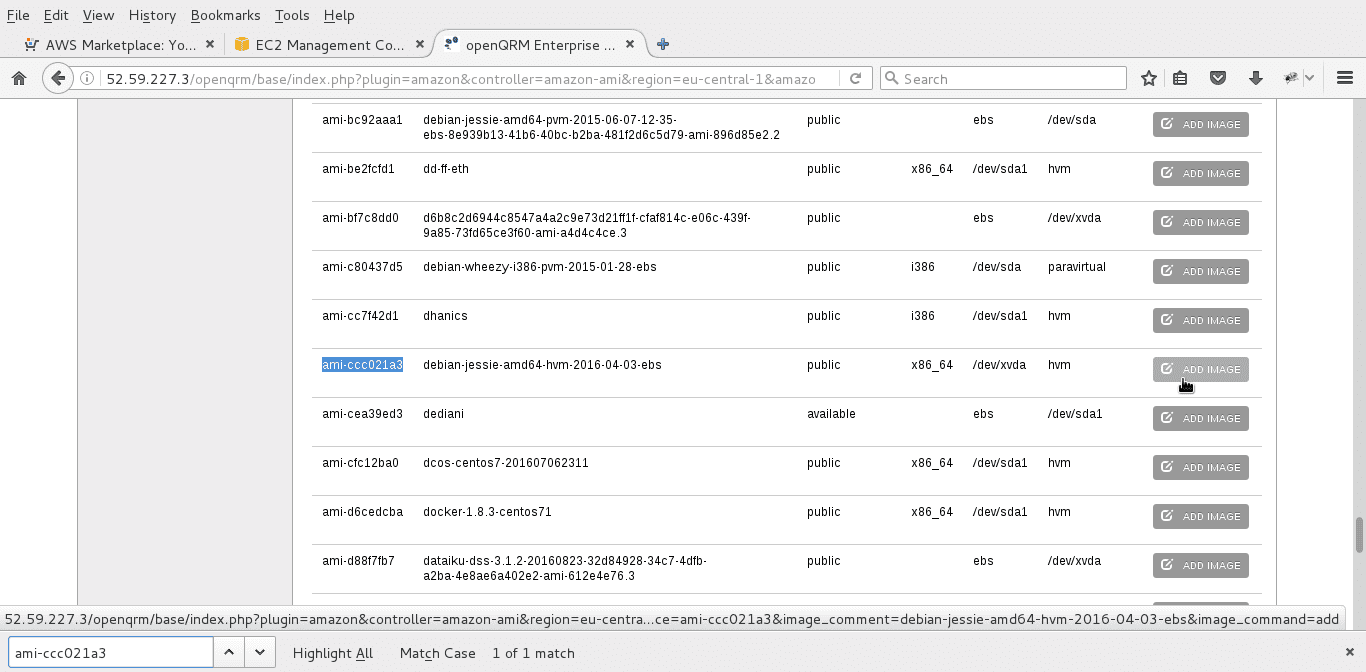
Set the filter to 'd' and search for the AMI name of the official Debian Jessie AMI.
Add the Debain Jessie AMI to openQRM.
The AMI got added to openQRM.
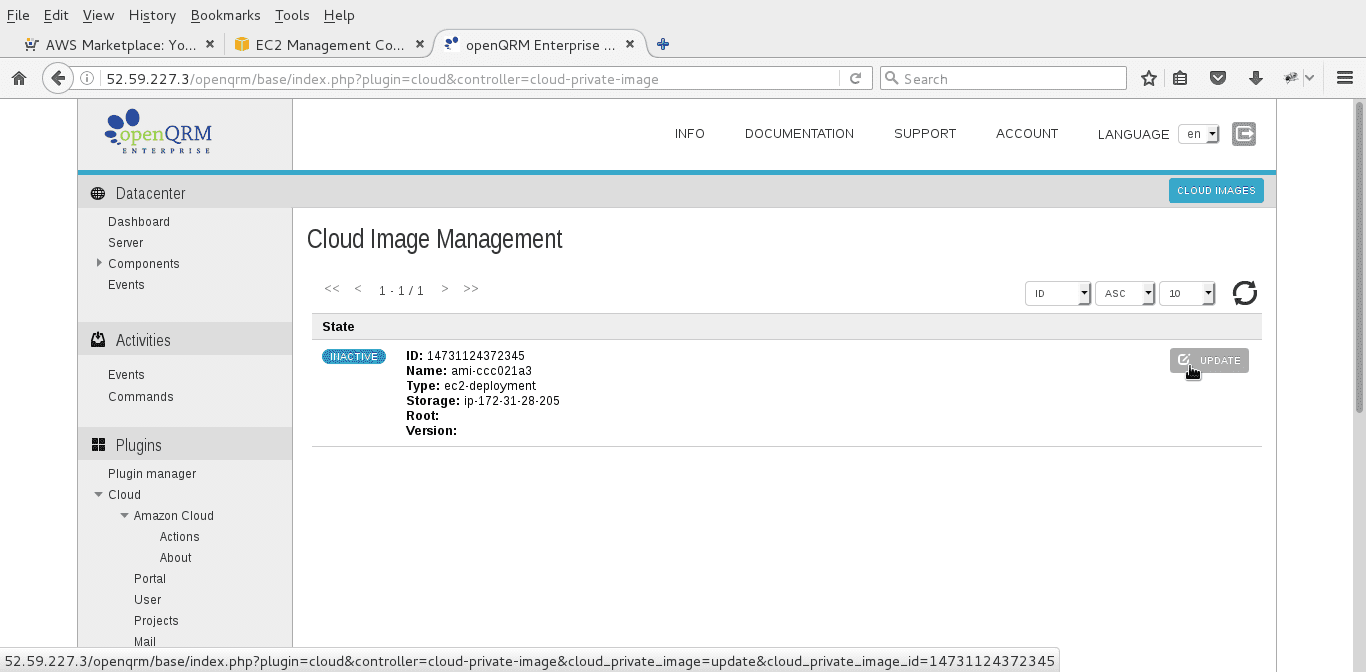
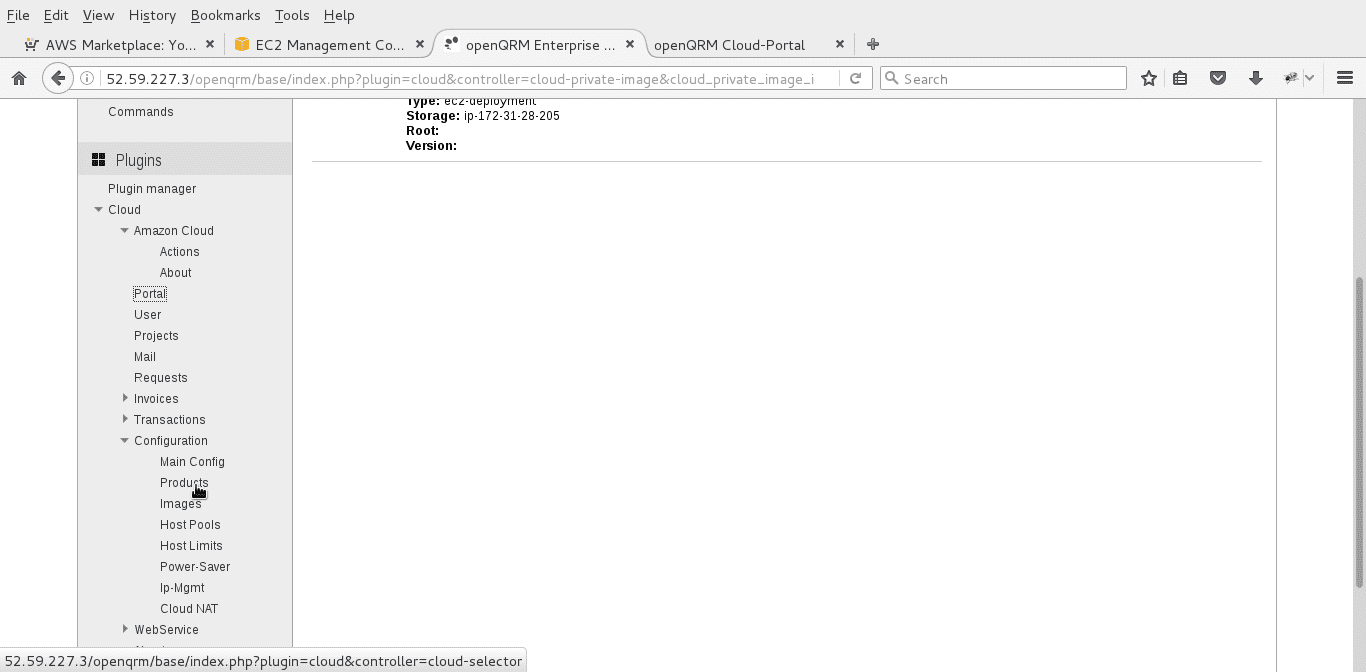
Go to "Cloud -> Configuration -> Images".
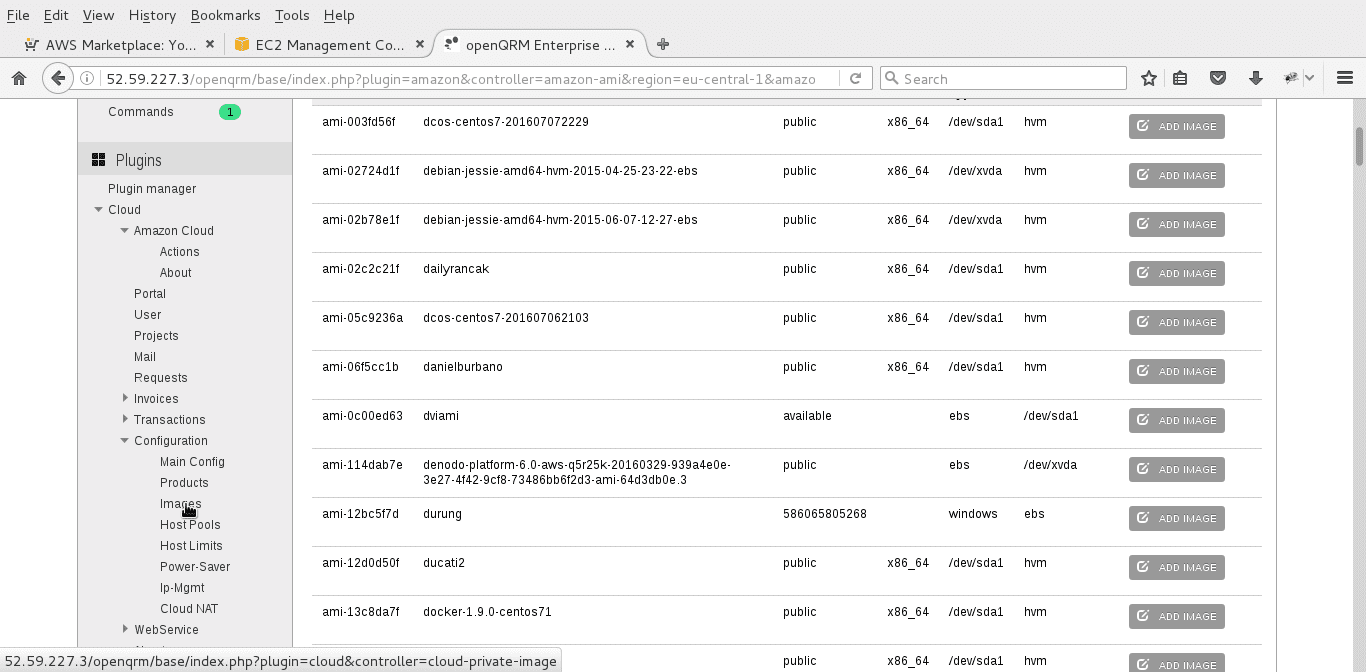
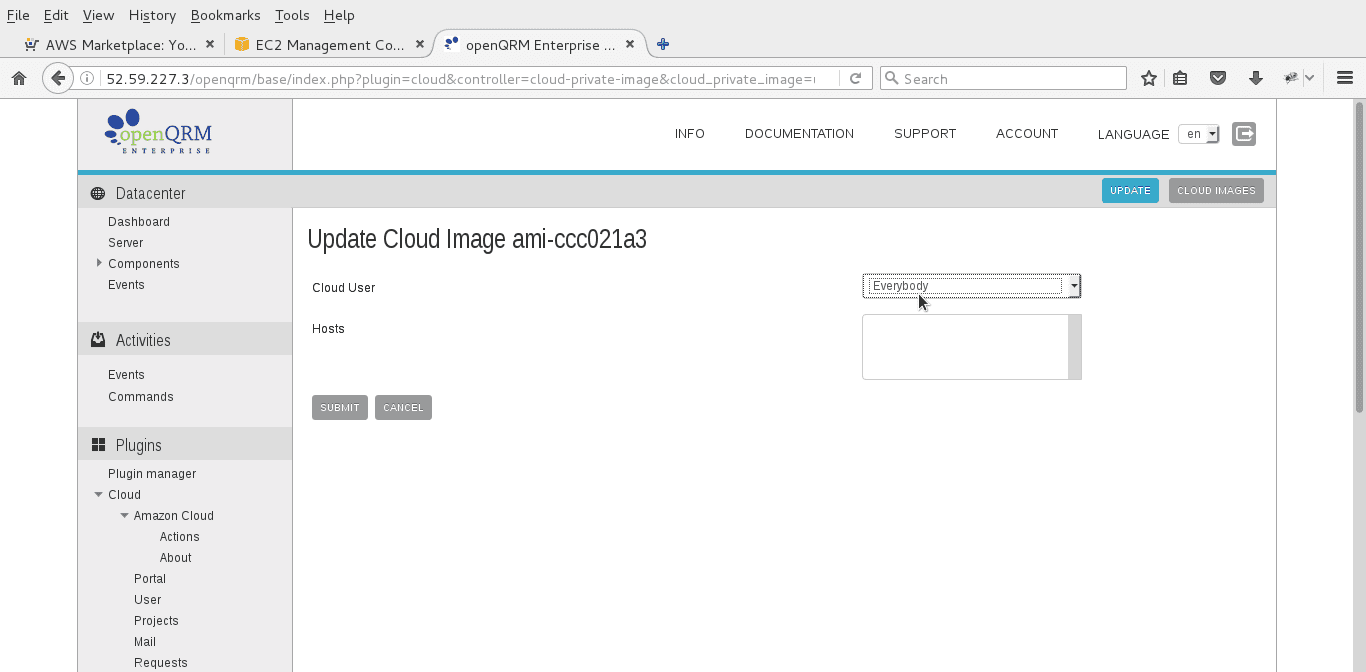
Edit the added AMI image.
Set the Cloud-User to "Everybody" and submit.
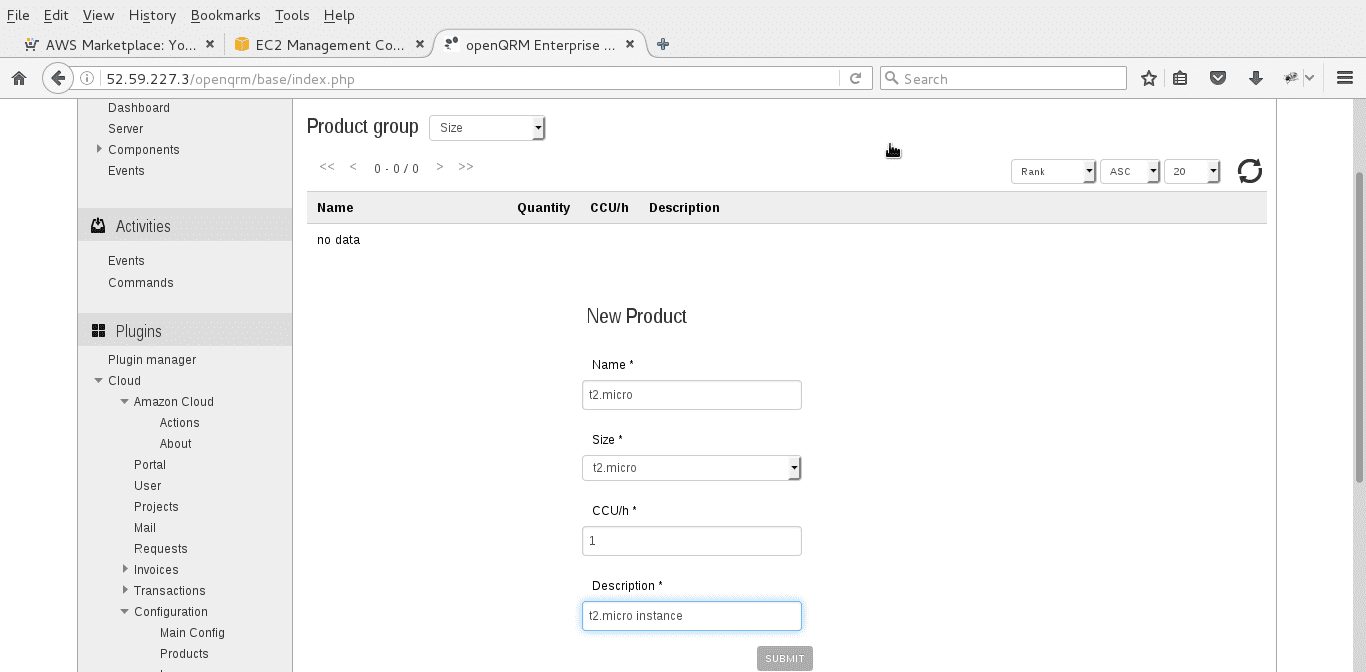
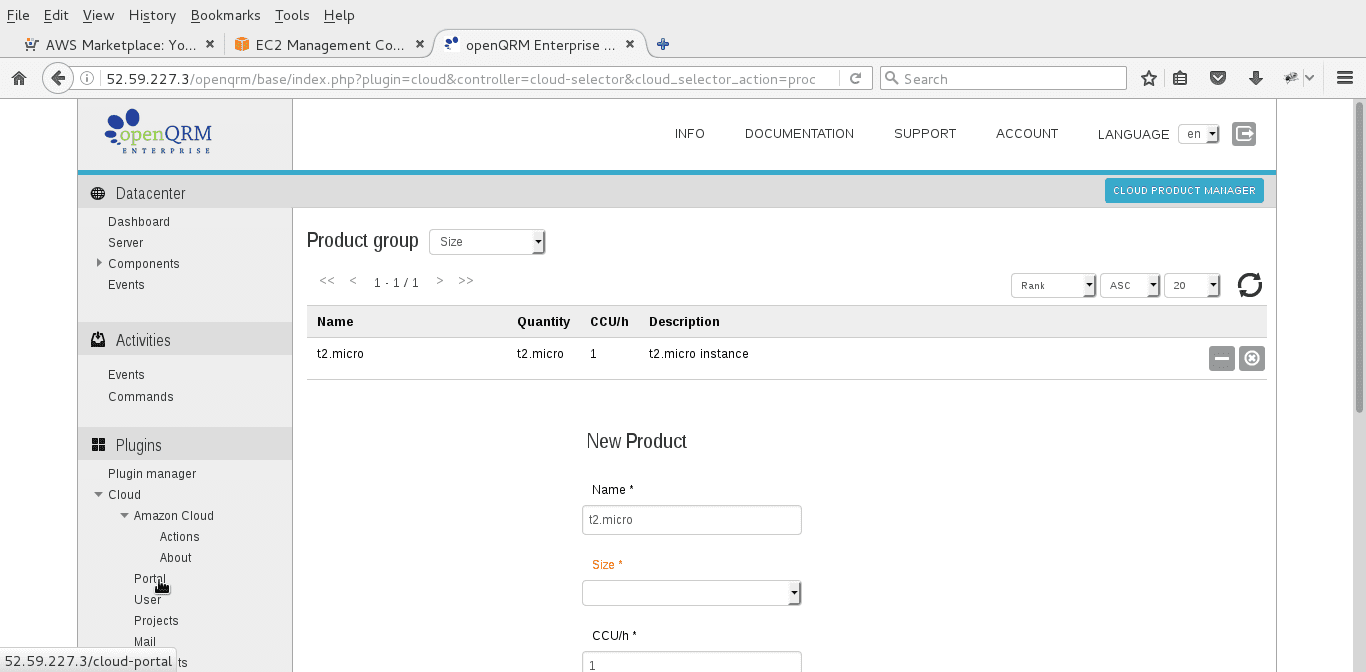
Now got to "Cloud -> Configuration -> Products".
Add a new "size" Cloud product. Here we use "t2.micro".
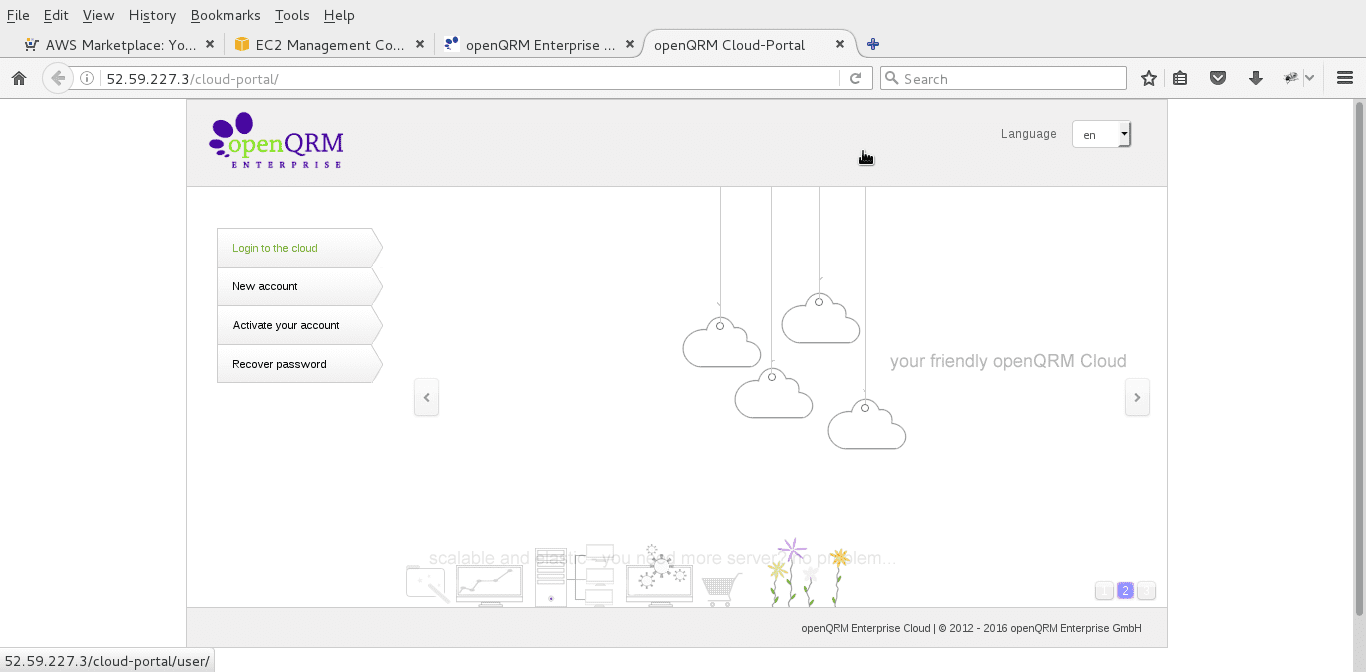
Now you can login to the openQRM Enterprise Cloud Portal by clicking on "Cloud -> Portal".
You can login to the openQRM Enterprise Cloud Portal with the the username "openqrm" and the same password as for the main openQRM Enterprise administration UI.
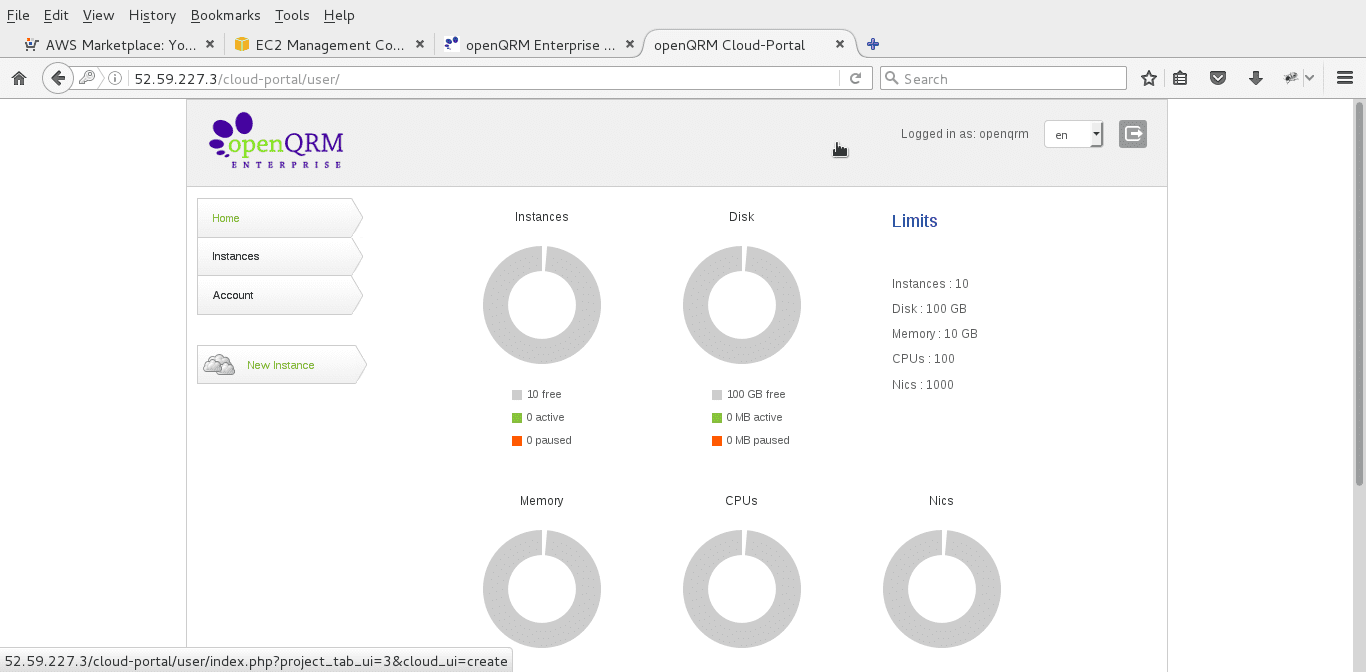
Here the openQRM Enterprise Cloud User Dashboard. Please cklick on "New Instance".
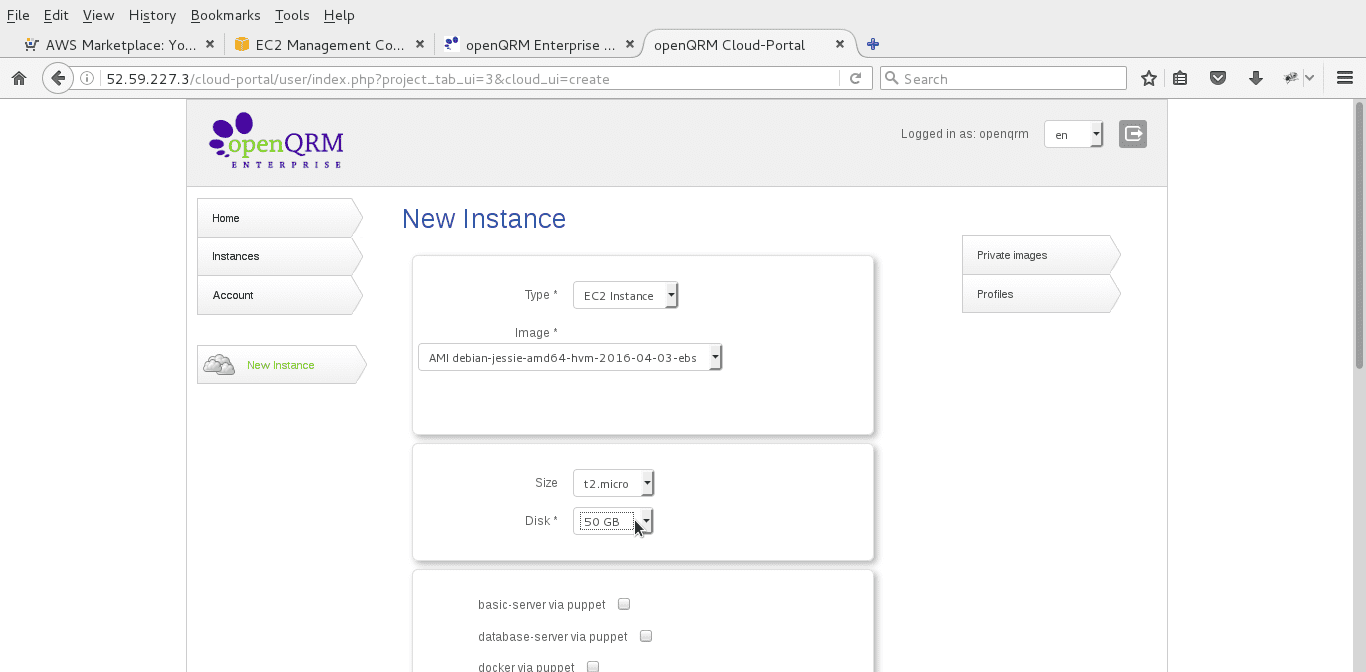
Please set the disk size to 50GB.
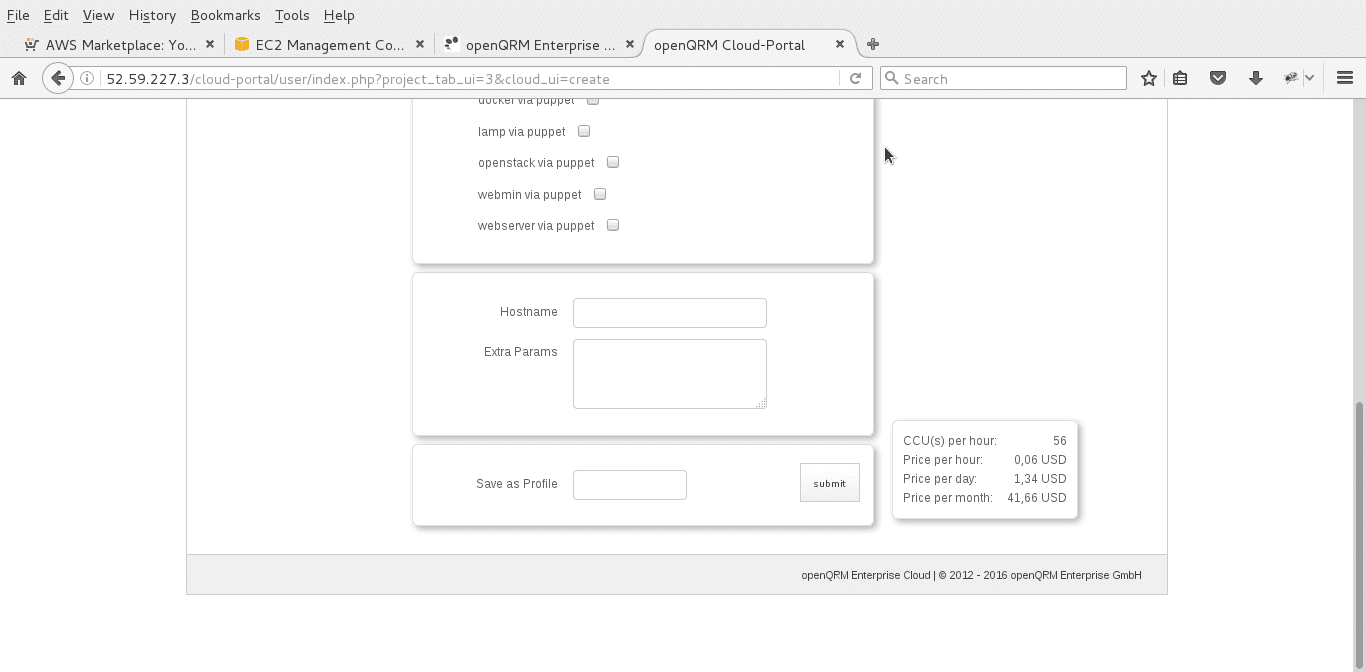
Submit your request.
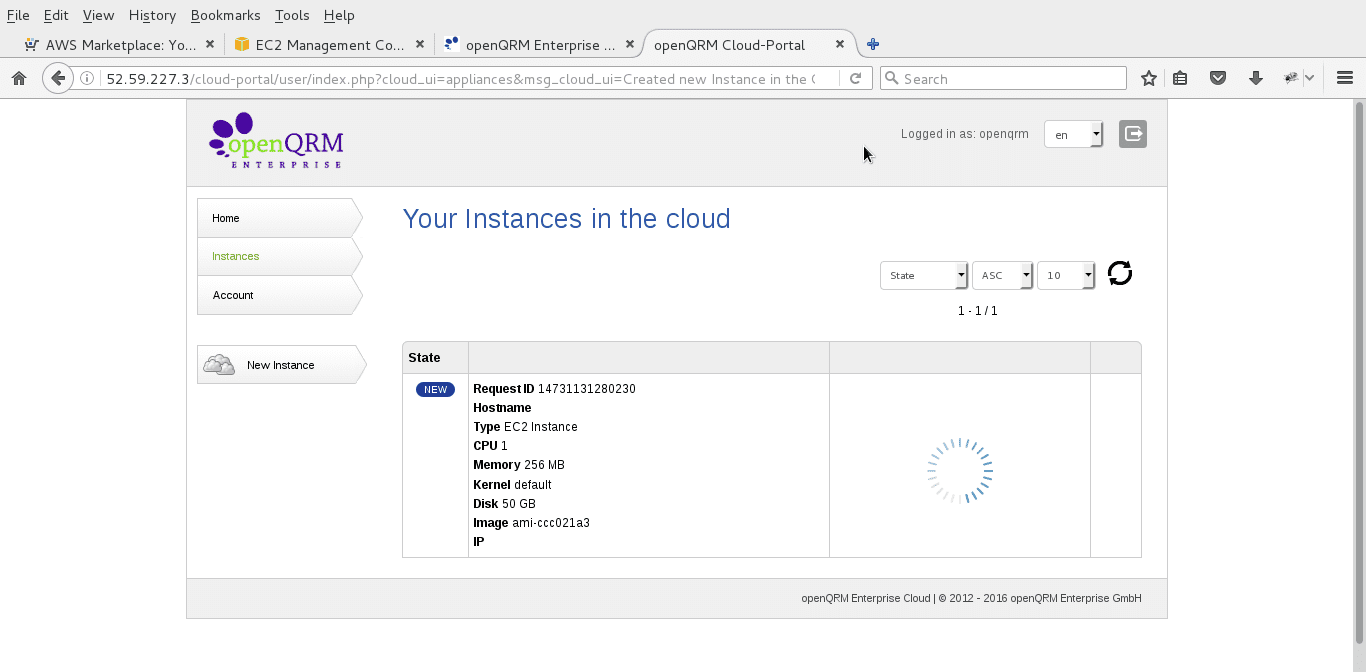
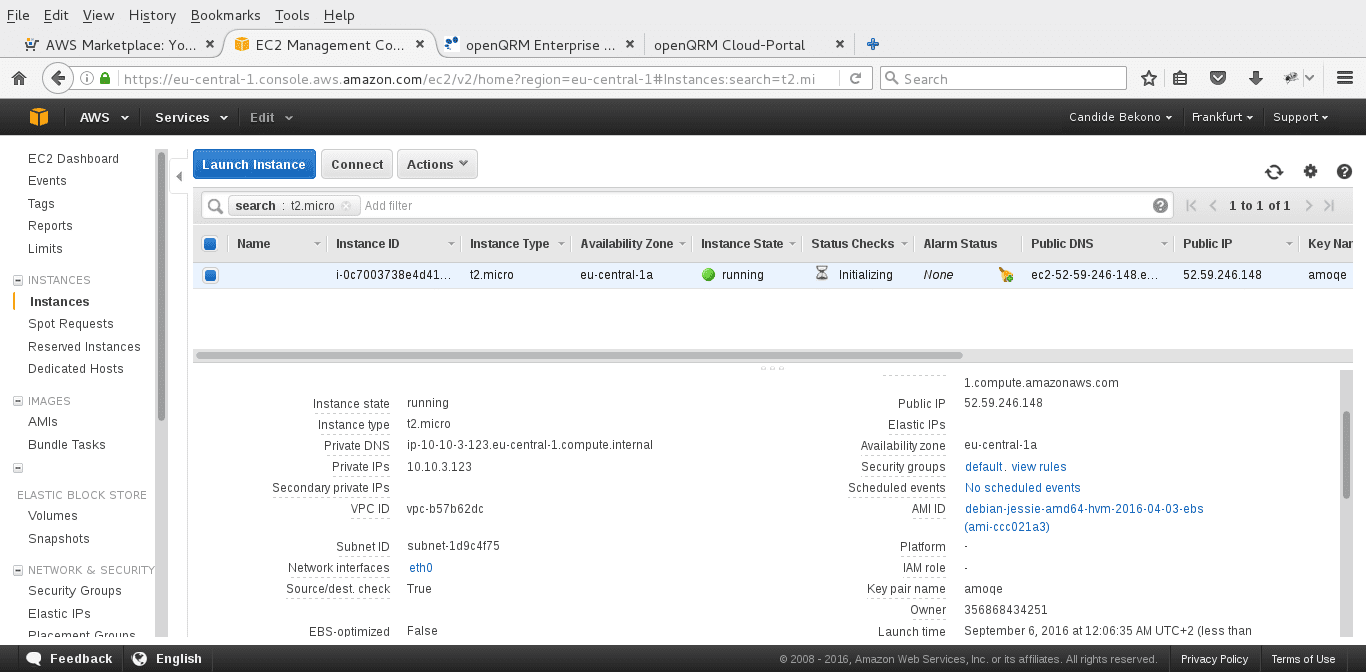
openQRM now fully automatically deploys the new instance now.
To check you can take a look at the Amazon EC2 console
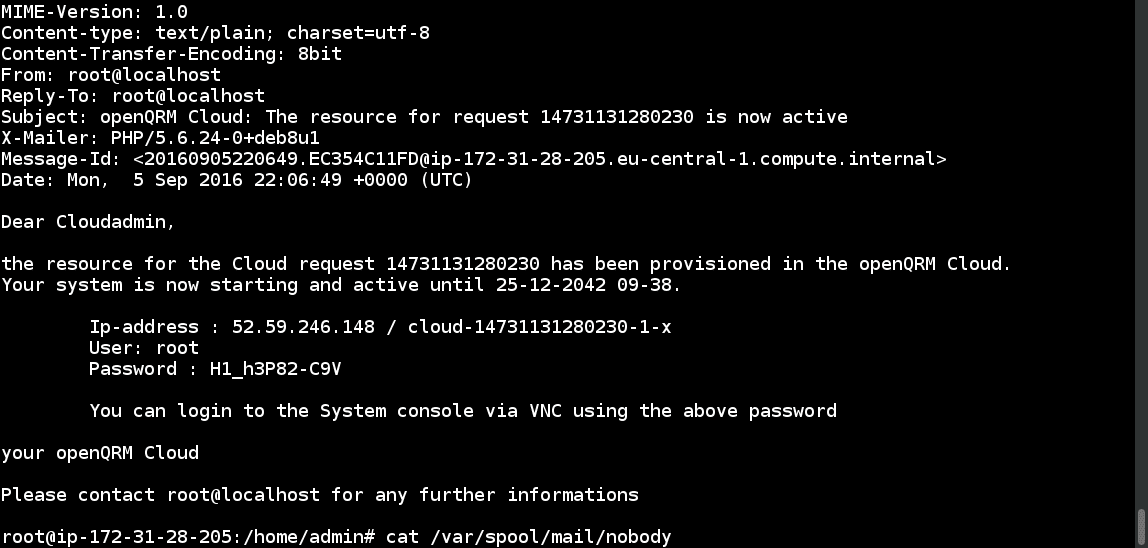
The openQRM Enterprise Cloud has sent a mail to the cloud user. You can read it by running in a terminal console
cat /var/spool/mail/nobody.
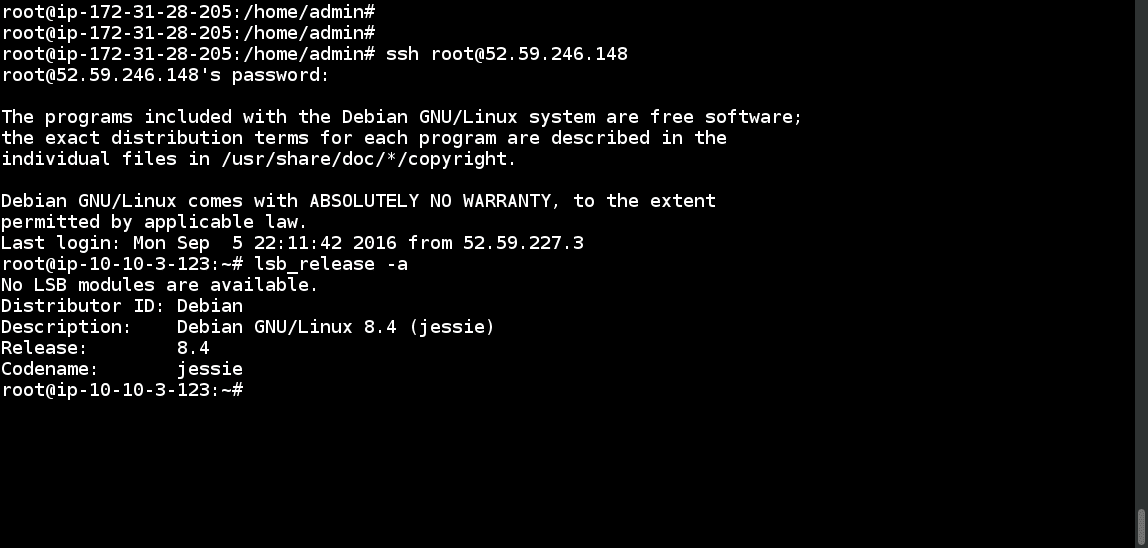
You can now SSH login to the new created instance with the credentials sent by mail.
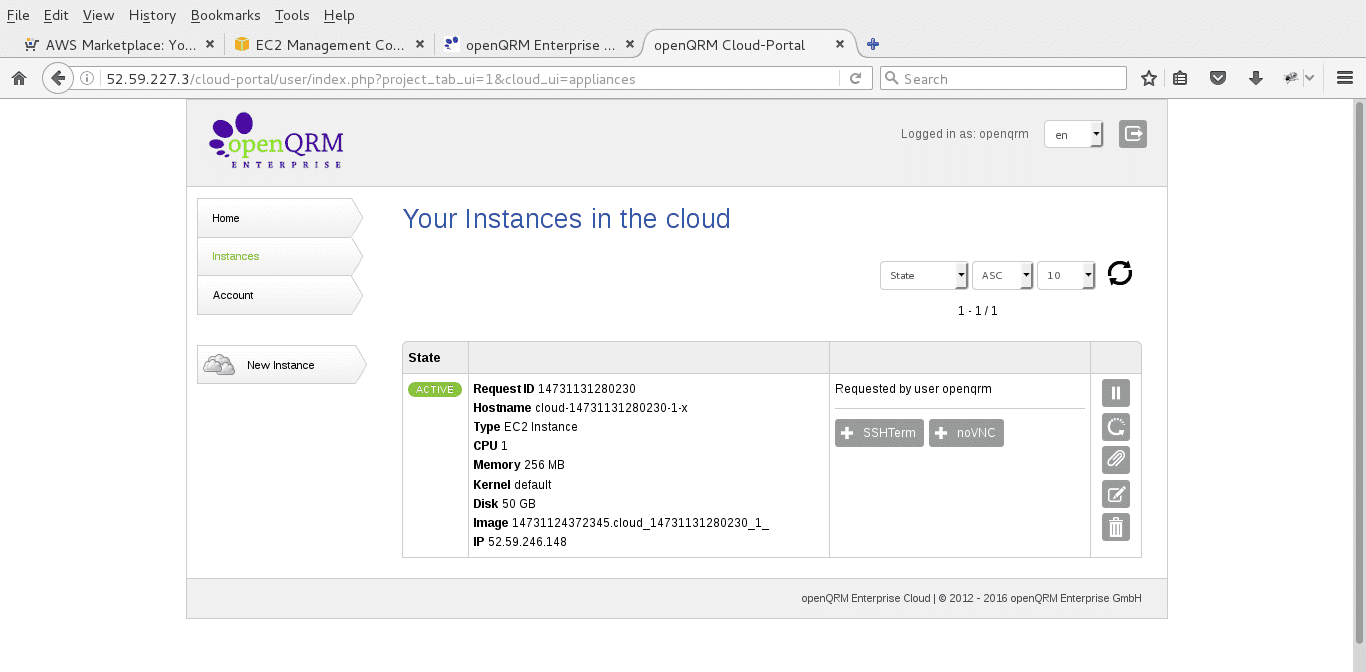
Here the active instance in the openQRM Enterprise Cloud Portal.
Congratulations!
You now have your own private Cloud on Amazon EC2
We hope you have enjoyed this howto!
Your openQRM Enterprise Team
Links
- openQRM Community - http://www.openqrm.com/
- openQRM Project at sourceforge - sourceforge.net/projects/openqrm/
- openQRM Enterprise - http://www.openqrm-enterprise.com/
- openQRM at Twitter - https://twitter.com/openQRM
- openQRM at Facebook - https://www.facebook.com/openQRM